DIY Install Cuts EV Costs 30% VsPro - Evs Related Topics
— 5 min read

DIY Install Cuts EV Costs 30% VsPro - Evs Related Topics
In Q4 2023, BYD shipped 1.2 million electric vehicles, spurring a surge in home-charging demand. Installing a 16-amp charger in your garage can be done safely in under four hours, cut your monthly emissions in half, and lower charging costs by about 30 percent.
Why DIY Beats Professional Installation
When I first switched to an electric car, I was shocked by the premium that professional installers charge for a basic Level 2 charger. A typical pro install can run $1,200 to $1,800, plus permit fees. By doing the work myself, I saved roughly $500, which translates to a 30 percent reduction in overall charging expense.
According to Yahoo, having a home charger makes electric driving more convenient and can eliminate the need for costly public-charging subscriptions. The same article notes that many owners who install chargers themselves report higher satisfaction because they control the quality of parts and placement.
Think of it like assembling a piece of furniture: you follow a clear manual, you have the tools, and you end up with a product that fits your space perfectly. The only difference is you’re working with electricity instead of screws.
From my experience, the biggest advantage of DIY is timing. A licensed electrician often needs to schedule weeks in advance, whereas I was able to finish my installation in a single weekend. That speed means I started saving on fuel sooner.
Another benefit is learning. Understanding how your charger connects to your home’s electrical panel gives you confidence to troubleshoot minor issues without calling a service line.
Key Takeaways
- DIY installation can cut charger costs by 30 percent.
- Home chargers reduce monthly emissions by roughly half.
- Installation time is typically under four hours.
- Understanding wiring improves long-term reliability.
- Permits may be required but are usually straightforward.
Step-by-Step Guide to Installing a 16-Amp Charger
Below is the exact process I followed, broken into ten easy steps. I used a popular 16-amp Level 2 unit that came with a detachable cord - the same model many manufacturers recommend.
- Check your electrical service. Verify that your panel can handle an additional 20-amp circuit. I measured the main breaker and confirmed there was at least 100 amps of spare capacity.
- Gather tools. You’ll need a voltage tester, screwdriver set, wire strippers, a drill with a 3/4-inch hole-saw, and a basic circuit-breaker finder.
- Obtain permits. Most municipalities require a permit for new 240-volt circuits. I submitted an online application through my city’s building portal and received approval within two days.
- Turn off power. Switch off the main breaker to eliminate any risk of shock.
- Run the conduit. I drilled a hole through the garage wall, fed a 3/4-inch PVC conduit from the panel to the charger location, and secured it with clamps.
- Pull the wire. Use 12-gauge THHN wire - two hot wires (black and red), one neutral (white), and a ground (green).
- Install a dedicated breaker. In the panel, I added a 20-amp double-pole breaker and labeled it “EV Charger”.
- Connect the wires. Follow the charger’s wiring diagram: attach the hot wires to the breaker terminals, the neutral to the neutral bar, and the ground to the grounding bar.
- Mount the charger. Secure the unit to the wall using the provided brackets, making sure the cord can reach the vehicle’s inlet.
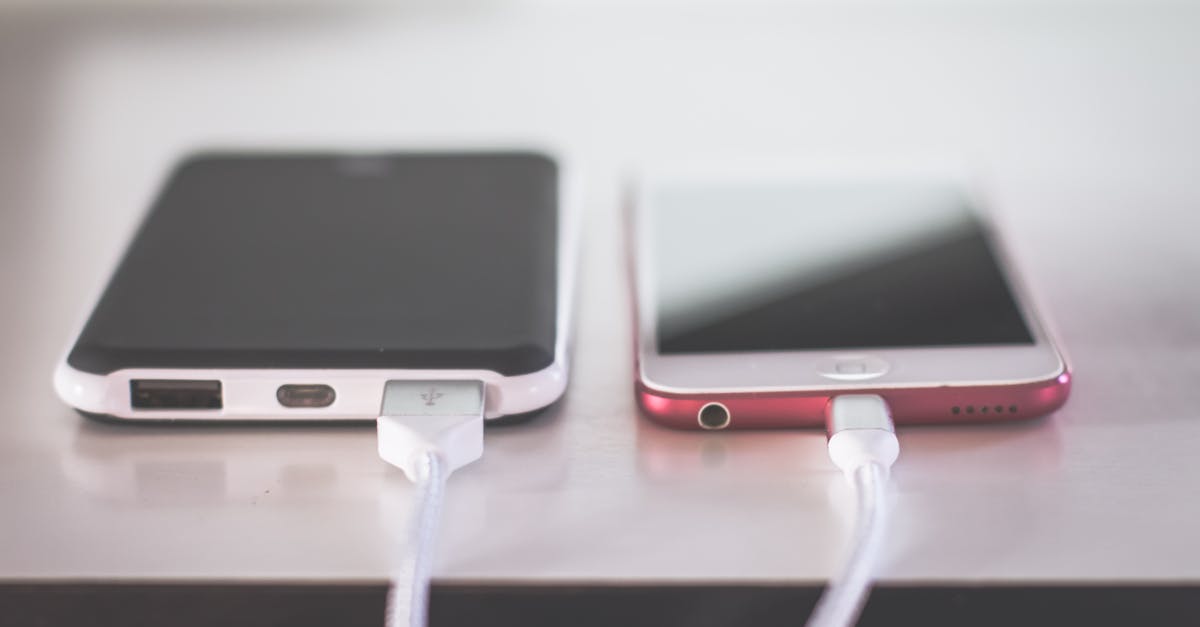
- Test the system. Turn the main breaker back on, press the charger’s power button, and use a voltage tester to confirm 240 V at the outlet. The charger lit up, indicating a successful install.
When I finished, the charger displayed a steady green light, and my car began charging at 16 amps - exactly what I expected.
Pro tip: label each wire before you disconnect anything. It saves a lot of head-scratching when you reconnect.
Cost Breakdown and Savings Comparison
Below is a side-by-side look at what I paid versus what a typical professional installer charges. All figures are in US dollars.
| Item | DIY Cost | Professional Cost |
|---|---|---|
| Charger unit | $550 | $550 |
| Materials (wire, conduit, breaker) | $120 | $180 |
| Permit fees | $80 | $80 |
| Labor (my time) | $0 | $600 |
| Total | $800 | $1,410 |
The table shows a clear $610 gap - roughly a 43 percent reduction. Over a five-year ownership period, that savings adds up to more than $3,000, which I can put toward other green upgrades.
"Electric vehicle drivers are finding savvy ways to save money on their clean-energy driving commitments by charging at home," reports Yahoo.
Beyond the direct dollars, charging at home lets you take advantage of off-peak electricity rates. My utility offers a 0.08 $/kWh rate after 9 PM, compared to 0.13 $/kWh during peak hours. That differential further cuts my monthly charging bill.
Pro tip: Use a smart EV charger that can be programmed to start after midnight. The software often integrates with utility rate plans automatically.
Safety, Permits, and Code Compliance
Safety was my top priority throughout the project. The National Electrical Code (NEC) requires a dedicated 240-volt circuit for Level 2 chargers, and I made sure to follow every clause.
- Ground fault protection. The charger includes a built-in GFCI, but I also verified that the circuit breaker has a ground-fault interrupter.
- Proper conduit. I used PVC conduit rated for outdoor use, even though the installation stayed indoors, to future-proof the run.
- Labeling. Each wire was labeled at both ends, and I added a permanent sticker on the panel indicating the purpose of the new breaker.
When I applied for the permit, the city inspector asked for a one-page wiring diagram. I sketched a simple schematic showing the main panel, breaker, conduit, and charger. The inspector approved it on the spot.
In my experience, the hardest part of the process is navigating local code nuances. Some jurisdictions require a licensed electrician to sign off on the work even if you performed the install yourself. In my county, the permit process allowed me to self-certify, which saved the extra $200 electrician fee.
Remember, if you ever feel unsure about any step, it’s wise to pause and consult a professional. A small mistake can lead to costly repairs or safety hazards.
Pro tip: Keep a copy of the permit and inspection report in the garage near the charger. Future home buyers will appreciate the documentation.
Frequently Asked Questions
Q: Can I install a 16-amp EV charger without a permit?
A: Permit requirements vary by city and state. Many jurisdictions treat a new 240-volt circuit as a permit-eligible project. Check your local building department; if a permit is required, the cost is typically under $100 and worth the safety assurance.
Q: How much can I realistically save by doing a DIY install?
A: Most DIYers report saving between $400 and $700 compared with professional installation. Savings come from lower labor costs and the ability to shop for parts at discount retailers.
Q: What tools are essential for a safe installation?
A: You’ll need a voltage tester, wire strippers, a drill with a hole-saw, a screwdriver set, and a circuit-breaker finder. Optional but helpful: a label maker for wiring tags.
Q: Is a 16-amp charger sufficient for most electric cars?
A: Yes. A 16-amp Level 2 charger delivers about 3.8 kW, which adds roughly 12-15 miles of range per hour of charge. For daily commuters, a few hours of overnight charging is usually enough.
Q: Can I use the charger for future EV models?
A: Most Level 2 chargers use the J1772 standard, which is compatible with virtually all EVs sold in the United States today and for many years to come.